Model: CR-6 SE
IMPORTANT: You MUST level the bed every time the Creality is turned on
If you don’t your print will fail and you may damage the printer, the calibration is lost every time the printer is turned off. If you are doing multiple prints one after another you don’t need to level the bed again between them (as long as you don’t turn the machine off). If the printer is already on it’s safer to level it before printing in case it wasn’t levelled before.
How to level the bed
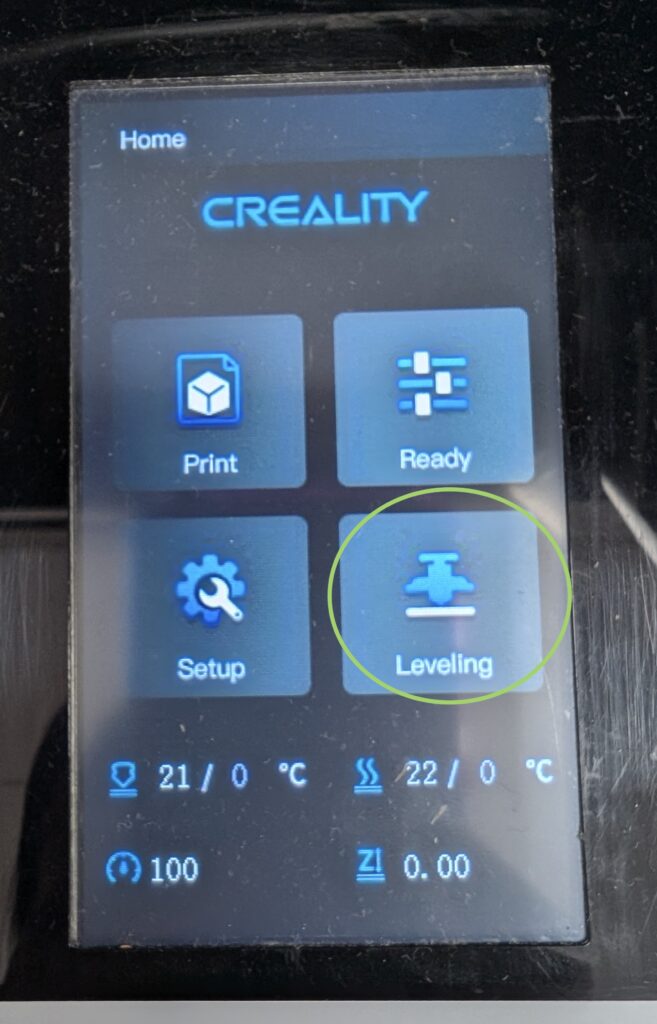
You can start the process by selecting “leveling” on the screen.
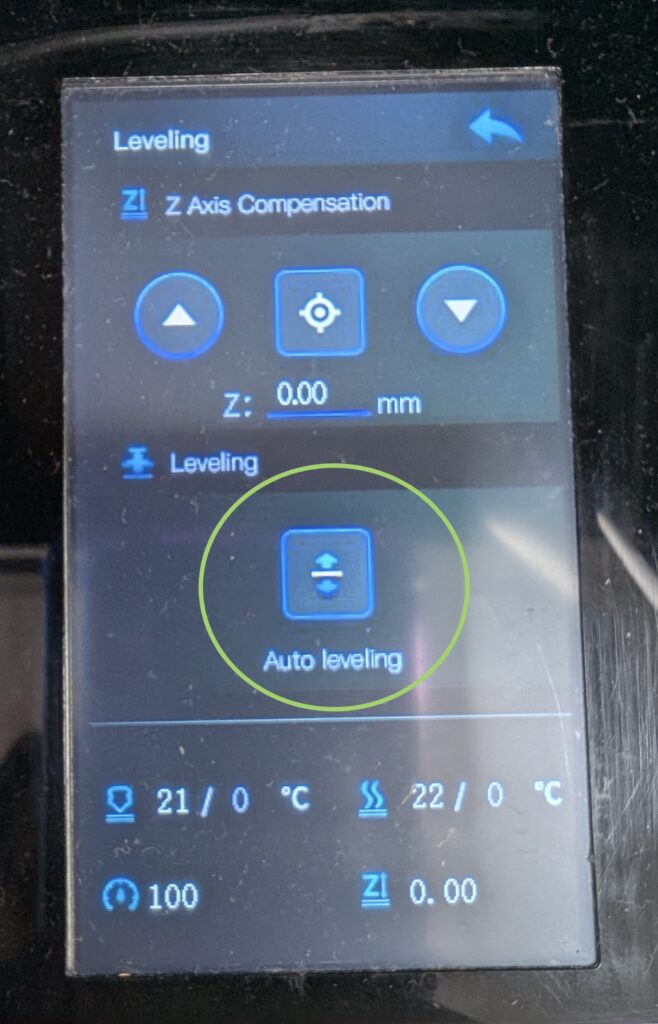
Then select “auto leveling”.
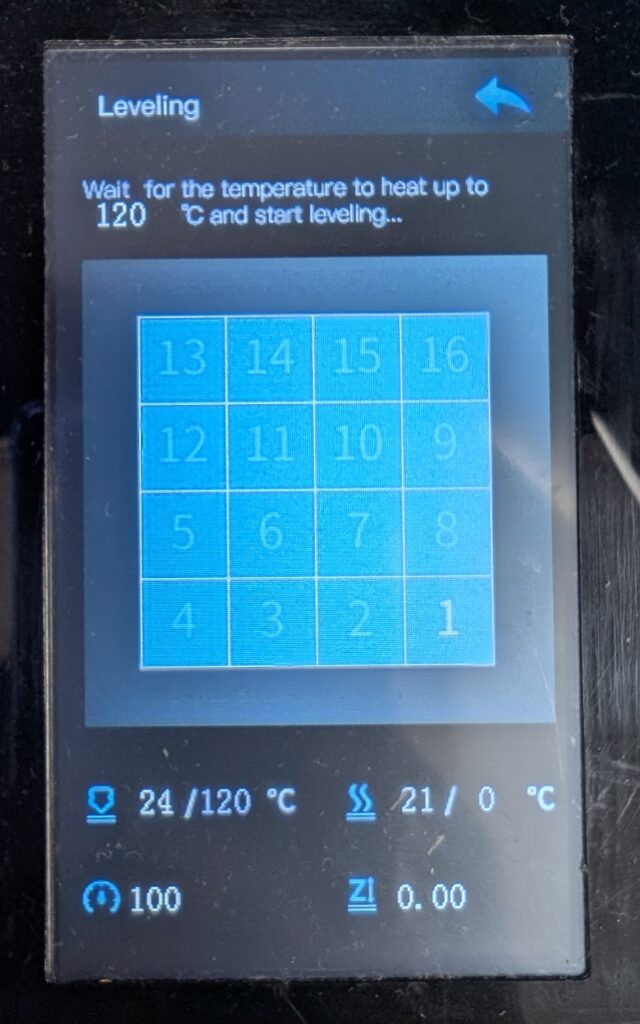
At this point the process should be automatic. If the process doesn’t start after reaching 120C then back out and try again.
Slicer Settings
We recommend using Orca Slicer.
Orca Slicer is on the main workstations at TAP lab. You can change between printers using the select menu shown below. You can also add 3D printers by clicking on “Select/Remove printers(system presets)”.

When you have sliced your model you will need to export it and save it to an SD card. Insert the SD card in the printer to print.