Models:
- Bambu Lab X1-Carbon with AMS
- Bambu Lab P1S with AMS
- Bambu Lab P1S (no AMS)
Quick links:
- Changing filament
- Slicer options
- Using BambuStudio for a basic print
- Printing over the network
- Printing using the micro SD slot
Changing filament
Check the “TAP lab 3D printer filament guide” for what filaments you are able to use at TAP lab and which printers they can be used on.
Using the AMS
The AMS (Automatic Material System) is the unit on top of the printer that holds 4 rolls of filament. If you need to change a roll of filament view this video to see how: https://www.youtube.com/watch?v=go5LY8e0E-c
Please note:
- Check the locking clips in the corners of the AMS have been unlocked before you try to open it.
- Some filaments can’t be used in the AMS but can be used with the external feeder instead.
Using the external feeder
On the printer menu select ‘Unload’ to remove the filament that is already in the machine. Once it has heated up and started unloading you will be able to remove it by pulling the filament out of the tube at the back.
Put the spool you want to use on the holder and insert the filament into the tube at the back. Select ‘Load’ from the menu and follow the prompts. For more detail and videos go to: https://wiki.bambulab.com/en/p1/manual/loading-filament
You can unload filaments from the menus on the printers as well as from your computer if you are connected to it over the TAP lab network.
Slicer options
We recommend using either BambuStudio or OrcaSlicer (scroll to “How to install”, latest stable release has the download links). Both are already installed on the desktop computers at TAP lab.
If you are installing them on your own computer you will need to load the printers “Bambu Lab P1S 0.4 nozzle” and “Bambu Lab X1 Carbon 0.4 nozzle”.
Using BambuStudio for a basic print
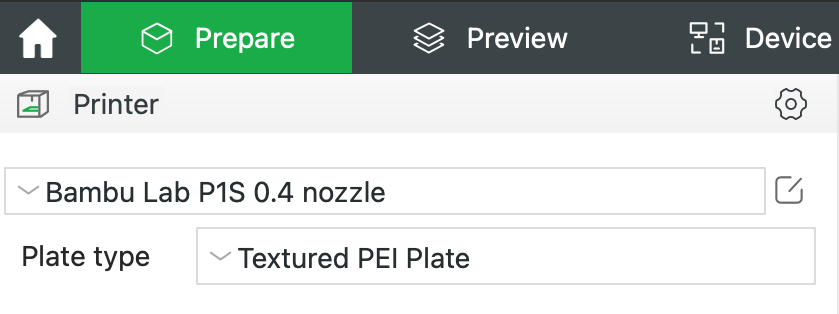
Select ‘Prepare’ from the options along the top.
Select the printer you will be using (P1S or X1-C) and the plate type as “Textured PEI Plate”, or “Smooth High Temp Plate” if using the smooth or special effects plate).

Make sure the correct filament is selected. It will normally be “Generic PLA” or “eSun PLA+”.

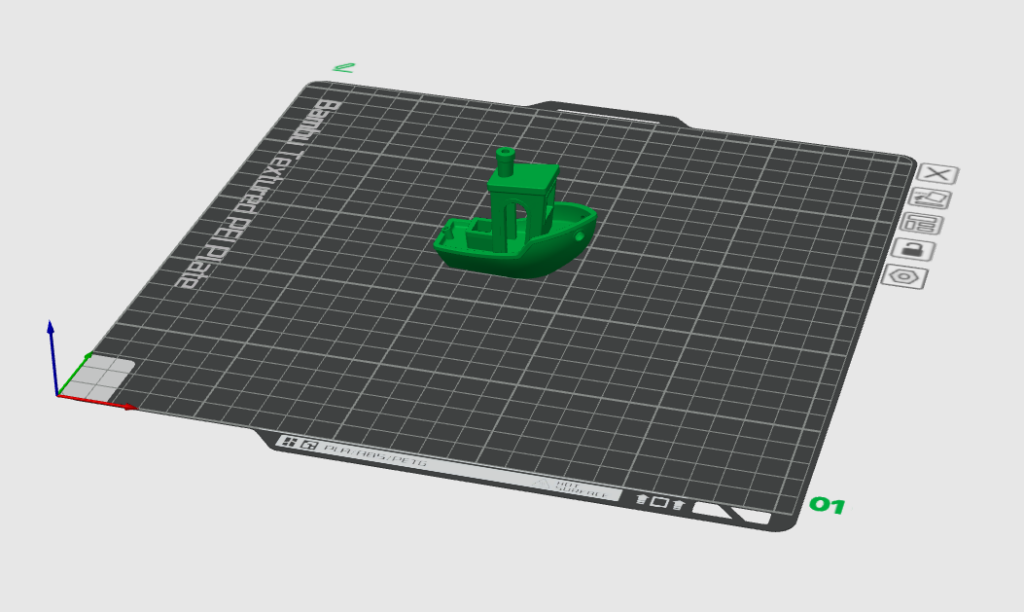
Drag and drop your 3D model (compatible types are: 3mf/step/stl/svg/obj/amf/usd*/abc/ply) onto the plate.

Select a preset for slicing.

Select your process options with the ‘Quality’, ‘Strength’, ‘Support’ and ‘Other’ tabs. You can toggle on the ‘Advanced’ view if you want to see more options.
Make sure you have the correct filament slot selected from the AMS for your object. They are numbered 1,2,3,4 from left to right.
Click ‘Slice plate’. You can now preview how your model will print. If you make more changes to the settings you will need to click ‘Slice plate’ again.

DO NOT START A PRINT unless you:
- have a full licence to use the 3D printers, OR
- a member who has a full licence is present and they have said you can start it
When you are ready for printing click either:
- “Print plate” to print over the network, OR
- “Export plate sliced file” to download and save it to an SD card
Carry on to the next sections for whichever method you are using.
For more information about using BambuStudio go to: https://wiki.bambulab.com/en/software/bambu-studio/studio-quick-start
Printing over the network
If you are in TAP lab and using a computer on the TAP lab network (wifi) you can print directly from the computer. When you click “Print plate” you will be able to select which printer.
You may be asked to enter the access code to connect to a printer, these are displayed on a sign next to the 3D printers.
If you are using one of the printers with an AMS you will need to check the colours you want have been mapped to the correct slots. The colours that are loaded in the AMS may not match what is shown in the slicer software. You can configure the AMS slots for each printer by going to the ‘Devices’ section in BambuStudio or OrcaSlicer.
Printing using the micro SD slot
To get your file onto a micro SD card you can use an adaptor to put it into a standard SD card slot on your computer then take it out to put it into the printer.
Make sure to eject the micro SD card from the Bambu before removing to prevent corruption. On the printers menu go to Settings > SD card > Eject.